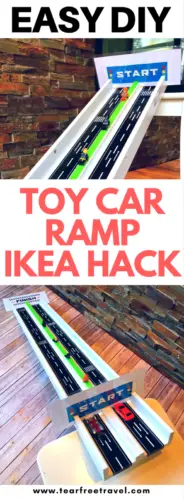
I’m totally going a little off topic on the blog today, but I just had to share this Ikea Hack that my son and I came up with last weekend. My son LOVES cars and this DIY Toy Car Ramp was SOOO easy to build and provided HOURS (literally) of entertainment this past weekend. The is the easiest DIY Hotwheels track ever!
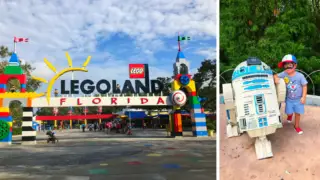
We just got back from our trip to LEGOLAND Florida and my son was OBSESSED with one of the activities they had there where you could race a car down a ramp. He kept talking about going back to do the car races so I offered to try and build a ramp at home. We checked out Pinterest for ideas but they all looked a little beyond my NON-DIY abilities. I went out to my garage to look at what kind of materials we had around the house and my son started ‘vrooming’ his cars along these picture shelves that I had bought (and failed to put up 1 year later ha!). Of course, this was the AHA moment and we easily had this ramp made in about 20 minutes (mostly glue drying time).
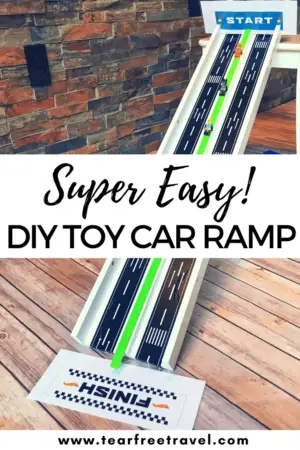
DIY Toy Car Ramp
Estimated Time: 20 minutes
Estimated Enjoyment: HOURS!
Car Ramp Materials
- Two Ikea RIBBA Picture Ledges (similar on Amazon)
- Super Glue
- Road Tape
- Block Tape (for LEGO) (optional)
- Printer
- A hand saw (optional)
- Hotwheels Cars
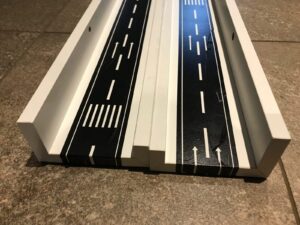
Step One: Apply the road tape
We use this road tape around our house all the time! It is great for making roads on our floors, couches, walls, whatever! I’ve found it to be very gentle on our surfaces. Take the road tape and apply it lengthwise along the base of the picture ledge.
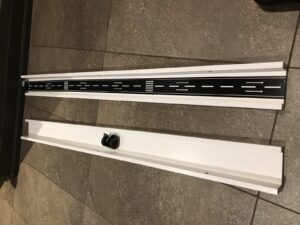
Step Two: Super Glue
I’m not super handy, so nailing or screwing the ledges together seemed like something beyond my abilities 🙂 I did think about using my heavy duty stapler but decided that super glue was the best bet. I put a thin line of super glue along each edge and held the two pieces together for five minutes. I put some saran wrap on the underside to protect my floor. It worked like a charm and my two destructive boys haven’t managed to break it yet!
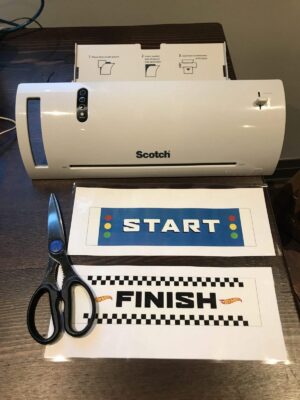
Step 3: Print off the Race Signs
Print off the Start and Finish signs from Hotwheels. These are available for FREE here. I used my Scotch Laminator to keep my signs sturdy and clean.
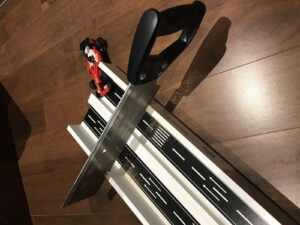
Step 4 (optional): Cut a ‘Start’ Groove
Ok, this was as TECHNICAL as I got. I wanted to add a cut into the ledges so both cars would be launched at the same time when we withdrew the paper. You can also just have the cars be released with your hands. I used a regular hand saw to make a thin cut through the ledges. It was totally easy, I swear!!
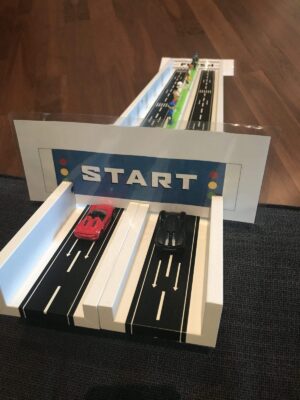
Step 5 (optional): Apply Block Tape
We had some of this LEGO block tape lying around and I thought it made a cute decorative addition to the toy car ramp. My son put some of his mini-figures on it to ‘cheer on the cars’ as they race
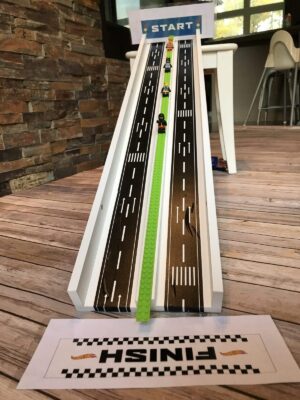
All Done! And we’re off to the races!
We used a stool to prop up the ramp but you can also use your couch, your bed, or any other object to get the job done.
ps – Slo-Mo videos make the car races EVEN MORE FUN.
